Now that we have covered some of the most important concepts when it comes to selling your work via POD (print on demand) websites, it's time to learn how to actually put your work out there.
Most POD websites I work with are pretty simple to use and there's not much to it. Perhaps the two exceptions would be Zazzle and Spreadshirt. But for this article we are going to stick to Redbubble. Later, similar posts concerning adding work to Zazzle, CafePress, Skreen and Spreadshirt will be created.
To begin type in your browser www.redbubble.com. You should already have a RedBubble account. It is free and fairly simple to set up. Click the "Add New Work" button and you should be taken to a screen that looks like this:
(Click on the image to enlarge)
(Click on the image to enlarge)
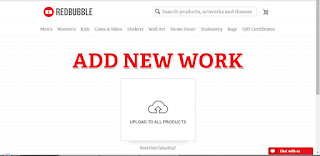
Click on the "Upload to all products" link and choose the image you wish to add. For this demonstration, I'm using an image from my Rectangular Patterns collection. After the image is done uploading, a preview of all the products with your image on them already should appear:
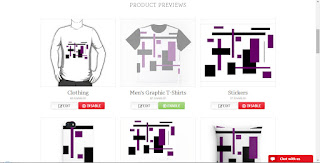
Underneath every product you will find two buttons. One for editing and another for enabling or disabling a specific product. The editing button is used to adjust the size and to rotate your image on the chosen product. There you can also chose the view your potential costumers will first see.

After you're done editing and adjusting the image on all the products you wish your image to appear on, keep scrolling down. You'll find a section where you'll be able to write down the title, description, tags, and chose the media for your graphic.
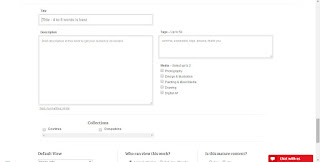
Fill out all those details and keep scrolling down.
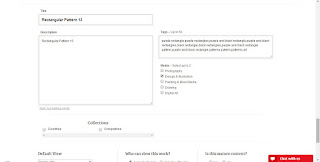
Finally, you will find the last sections. There you can set up the default view (which product will customers see first), audience (if it is a private or public product), and if the graphic contains mature content. After you're done doing that, just press the Save Work button and wait.
Processing time depends on how big or small your image is. But after all is done, a new page with your graphic on the desired product should appear.
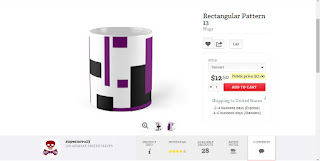
And just like that, you have added your work to the market place. If it has any sort of value to other people, you can just sit back and wait for it to be purchased. Or better yet, you can add even more work.
And this was our Create And Earn Tip for today. Pretty simple, eh? As always, I hope you've gotten as much value from it as I intended to give. Don't forget to ask any questions in the comment section. I'll be more than happy to answer them. Also, please help us out by sharing this blog via any social media website. It means a lot to us.

No comments:
Post a Comment